
The real power comes when you use Perspective windows as a way to monitor specific mailboxes.
You can create a Perspectives window from any mailbox or smart mailbox. So if you receive few but very important emails, rules can auto file these emails and you see them in a Perspectives window so they don’t get lost in the deluge of your inbox emails.
Badges highlight when you receive new mail in up to 5 important mailboxes by displaying a count on the the Mail icon in the Launch bar and in the Menu bar.
Perspectives works seamlessly with MailTags and tagging. If you use Tickle Dates, just create a window and set the criteria (right click the pane title and select “Edit”) to show messages of tickle date “today”. Now when you put a tickle date on a message it will show up in the Mail Perspectives window when the tickle date arrives.
The Act-On rules can be applied using quick keys to allow you to process your messages without having to open the main Mail window.
Download the 30 day trial version.
Purchasing the plugin and remove the time limitatin on the trial.
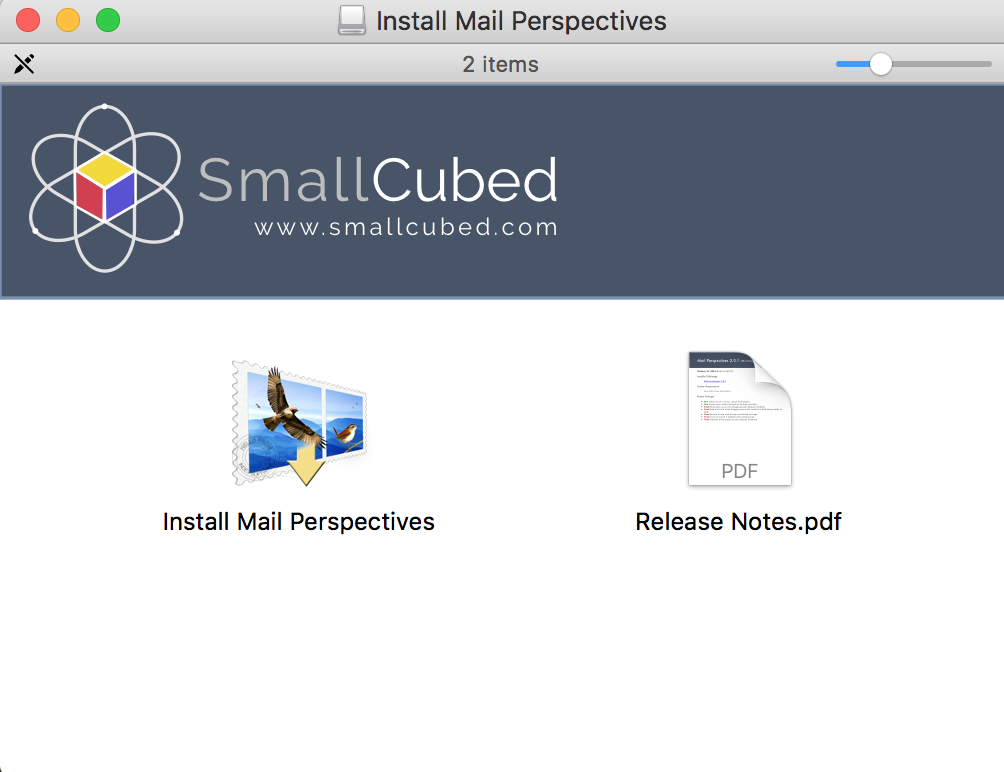
To install Mail Perspectives, double click on the mailperspectives.x.x.dmg file in the downloads folder then double click on the install icon and follow the on screen instructions.
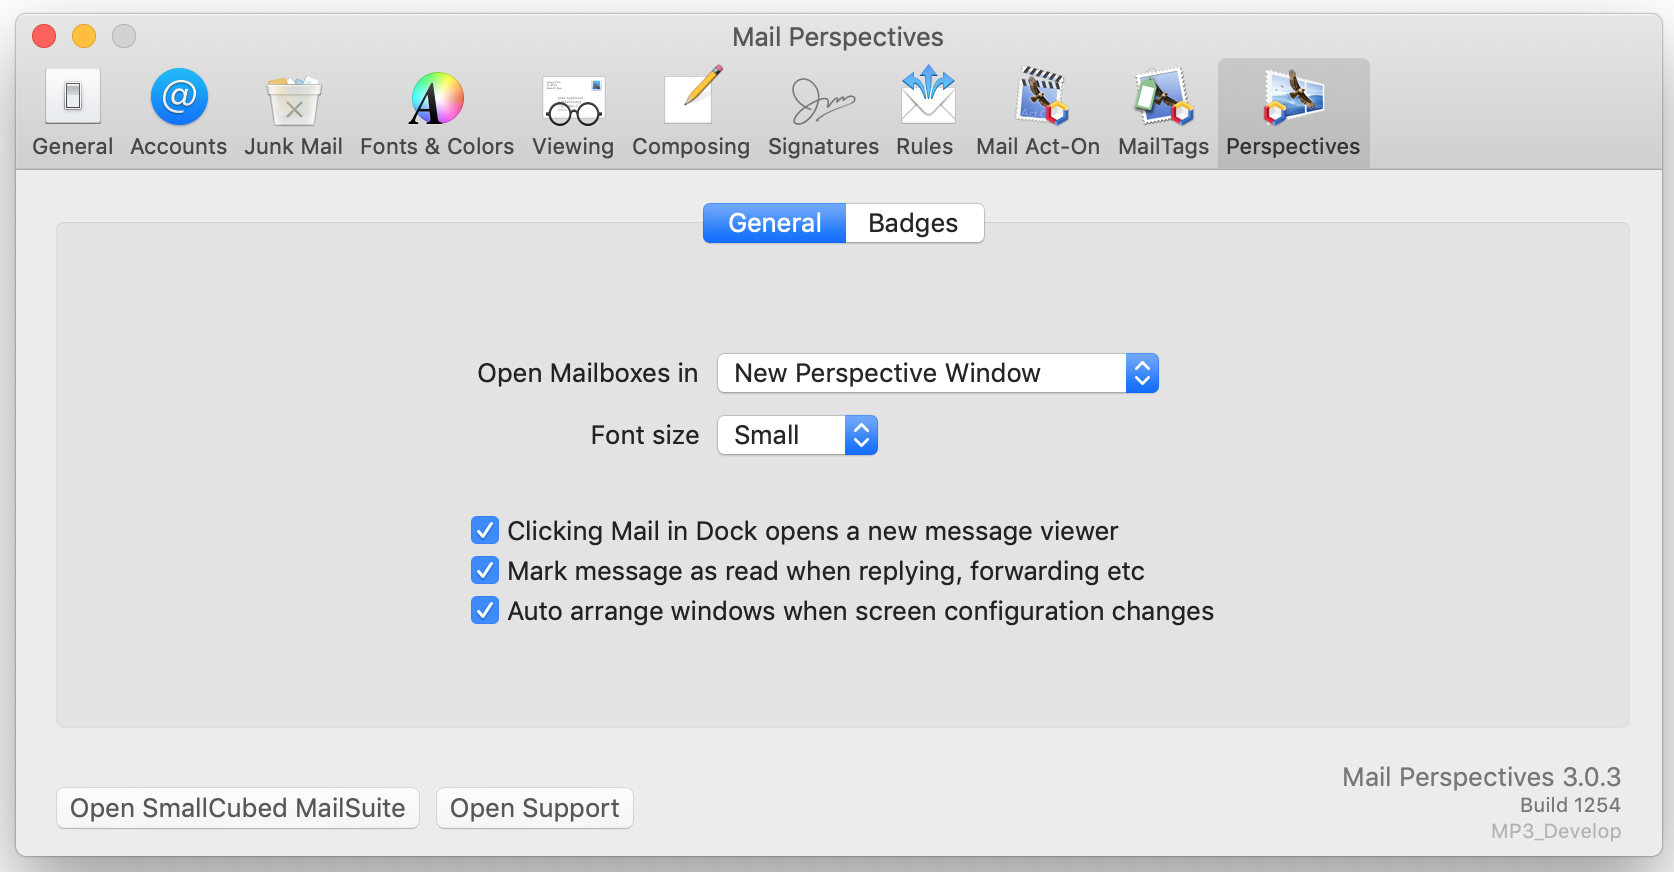
Once installed you can access the settings for the plugin in the Mail Perspectives preferences of Mail.
Once you have purchased the plugin you should receive an email with the registration information.
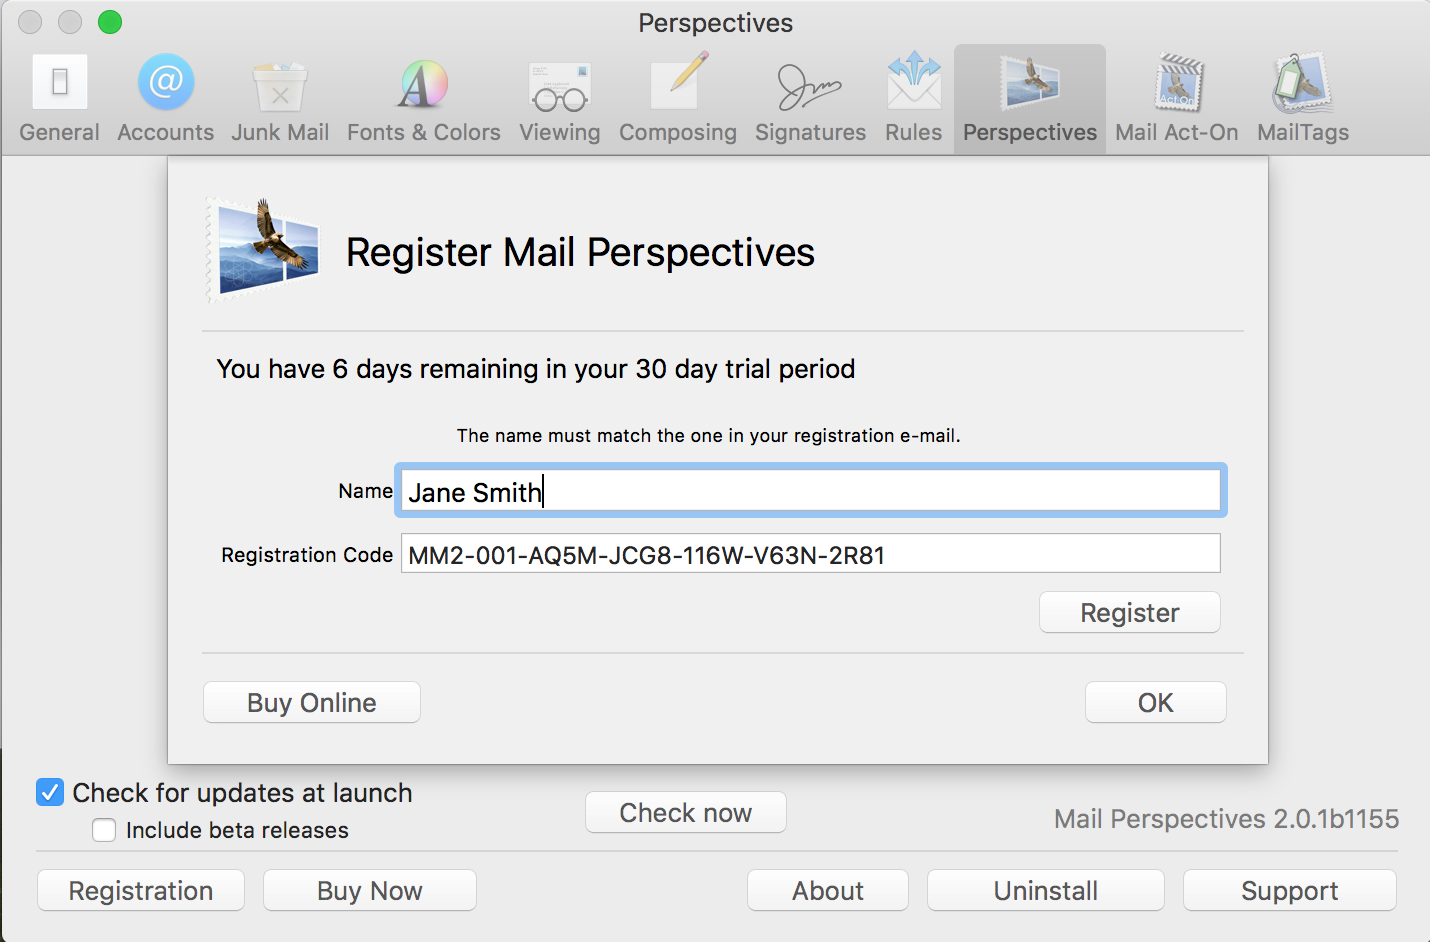
The registration code is entered through the “Registration” button in the plugin preferences. The registration name and registration code must be entered EXACTLY as they appear in the registration infromation.
Create Perspective windows by selecting “New Perspecives Window” in the “File” menu of Mail or by right clicking on any mailbox or smart mailbox and selecting “Open in New Perspectives Window”.


Preview a message in a Perspectives window by selecting the message and hitting the space bar. A second hit on the space bar will close the preview


While the Preview window is open, move to the next or previous message from the Mail preview window by using the down and up arrows on the keyboard.
Edit a Perspectives window by right clicking on the Mailbox name and selecting “Edit”. In the Edit view, you can change the criteria for the perspectives window similar ot editing a smart mailbox.


Show/Hide the the toolbar on any Perspective window, by going to the Mail View menu and selecting “Hide toolbar/Show toolbar.


Show/Hide individual Perspective windows by clicking the red close button.
Show/Hide ALL Perspectives window using the Mail’s menu “Windows/Show/hide Perspectives Windows” or using command + /.
A list of closed Perspective windows can be found in the Windows menu of Mail. Clicking on a the title in the list will reopen it.


Get rid of a Perspectives window by hold the “alt” key while click on the red close button.
Create a Perspectives window with multiple panes by draging the title of one mailbox window onto the window of another. Once grouped, the group can be moved together as a single unit.
Edit the color of a pane title by right mouse click on the pane title.
Expand or compress a pane in a window by double clicking on the pane title.
To return to the regular view, double click again on the same pane title.
Show/Hide Perspective a window with multiple panes the same way you would an individual window by clicking on the red close button on the top left of the window, or with the Mail Window menu or by using ‘command + /’.
Video showing the creation and manipulation of a Prespectives pane:

Badges can be created from the “Badge” tab of the Perspectives preferences.


When created from the “Badges” tab, the source messages can be any or your Inboxes, the combined Inbox, or messages that arrived “Today”. For this type of Perspective window only “New” messages (unread messages) can be counted for the badges.
Badges can also be created from the “Edit” option in the Perspectives window. Once in the Edit view, click on a green plus sign on the Mail icon and edit the badge color, shape and count. With this type of badge the count can be displayed as “All”, “New”(unread) or “Today”’s messages. Drag the badge to on the Mail icon to change its location.


Apply Mail Act-On actions on selected messages using the same quick keys you would usually use to invoke the Act-On Menu (F1, F2 …). Or apply Act-On rule using control + the Act-On key.
With Mail Act-On installed, and the Act-On “Message Viewing” option to delay the message from being marked as read immediately, it is possible to scroll through messages, or the “Quick View” window with out the messages being marked as “Read”. To mark messages as “Read” use the “r” key, either in the Perspectives window, or in “Quick View” window.
If you have further questions, or Mail Perspectives doesn't act as you expect, you can contact us at the following email address: support@smallcubed.com.